Getting Started
You can be rendering 3D in the browser inside a minute — no installs and no build step required. Load PlayCanvas Web Components straight from a CDN, or install the npm package if you are integrating them into an existing project.
Installation
You can load the library in one of two ways. If you're not sure which to pick, start with the CDN — you can switch to npm later without changing any of your markup:
- CDN (no install) — nothing to download and no tooling required. The fastest way to get started, and fine for production too as long as you pin to specific versions.
- npm — the right choice when your project already has a
package.json, a dev server or a bundler. The engine and components are versioned alongside the rest of your dependencies and served from your own infrastructure.
Whichever route you choose, your HTML file needs an import map, because the Web Components need to be able to find the PlayCanvas Engine (which is an external dependency). The map also lists @playcanvas/web-components itself — the tags don't need that entry, but it means any JavaScript you write later can import the library's API (introduced in Programmatic Access).
- CDN (no install)
- npm
Load both the engine and the components from a CDN such as jsDelivr, using pwc.min.mjs — the minified build, less than half the size of pwc.mjs:
<script type="importmap">
    {
        "imports": {
            "playcanvas": "https://cdn.jsdelivr.net/npm/playcanvas@latest/build/playcanvas.mjs",
            "@playcanvas/web-components": "https://cdn.jsdelivr.net/npm/@playcanvas/web-components@latest/dist/pwc.min.mjs"
        }
    }
</script>
You can then import the Web Components as follows:
<script type="module" src="https://cdn.jsdelivr.net/npm/@playcanvas/web-components@latest/dist/pwc.min.mjs"></script>
The snippets above use @latest for convenience. For production deployments, pin to a specific version to ensure deterministic builds (for example: playcanvas@2.x.y and @playcanvas/web-components@x.y.z). See the release notes for the latest stable versions: PlayCanvas Engine releases and Web Components releases.
Make sure you have Node.js 18 or later installed. PlayCanvas Web Components is available as a package on npm. You can install it (and the PlayCanvas Engine) as follows:
npm install playcanvas @playcanvas/web-components
Point the import map at the installed packages:
<script type="importmap">
    {
        "imports": {
            "playcanvas": "/node_modules/playcanvas/build/playcanvas.mjs",
            "@playcanvas/web-components": "/node_modules/@playcanvas/web-components/dist/pwc.mjs"
        }
    }
</script>
You can then import the Web Components as follows:
<script type="module" src="/node_modules/@playcanvas/web-components/dist/pwc.mjs"></script>
These paths assume your site is served from the project root, so that /node_modules/... resolves. Adjust them to match your dev server or bundler setup.
Your First Page
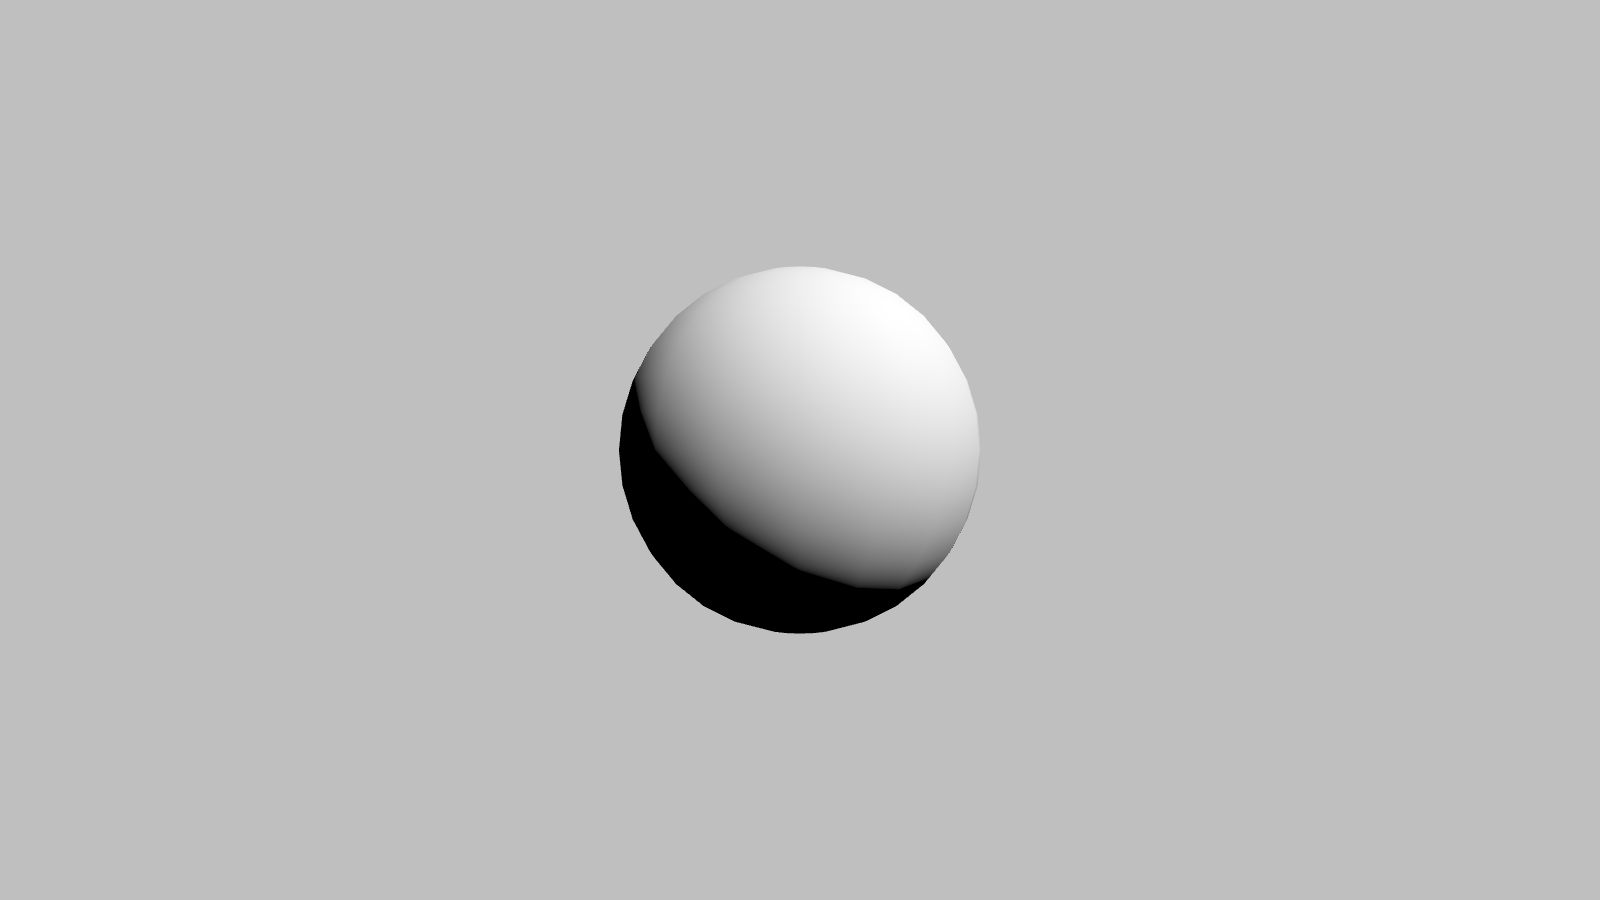
Here is a complete page that renders a lit sphere — the "hello, world" of 3D. It uses the CDN setup, so there is nothing to install:
<!DOCTYPE html>
<html lang="en">
    <head>
        <meta charset="UTF-8">
        <meta name="viewport" content="width=device-width, initial-scale=1.0, maximum-scale=1.0, user-scalable=no">
        <title>My PlayCanvas Web Components App</title>
        <script type="importmap">
            {
                "imports": {
                    "playcanvas": "https://cdn.jsdelivr.net/npm/playcanvas@latest/build/playcanvas.mjs",
                    "@playcanvas/web-components": "https://cdn.jsdelivr.net/npm/@playcanvas/web-components@latest/dist/pwc.min.mjs"
                }
            }
        </script>
        <script type="module" src="https://cdn.jsdelivr.net/npm/@playcanvas/web-components@latest/dist/pwc.min.mjs"></script>
        <style>
            body {
                margin: 0;
                overflow: hidden;
            }
            pc-app {
                width: 100%;
                height: 100vh;  /* fallback for browsers without dynamic viewport units */
                height: 100dvh;
            }
        </style>
    </head>
    <body>
        <pc-app>
            <pc-scene>
                <pc-entity name="camera" position="0 0 3">
                    <pc-camera></pc-camera>
                </pc-entity>
                <pc-entity name="light" rotation="45 45 0">
                    <pc-light></pc-light>
                </pc-entity>
                <pc-entity name="ball">
                    <pc-render type="sphere"></pc-render>
                </pc-entity>
            </pc-scene>
        </pc-app>
    </body>
</html>
One rule in the <style> block deserves a mention: <pc-app> is sized like a <video> element — a block-level box that your CSS controls, just 300×150 pixels by default. The pc-app rule stretches it to fill the viewport; size it however you like to embed the scene in a normal page layout instead. See Sizing for the details.
Save this as index.html and open it in your browser. You should see:
Using the npm install instead? Swap the import map and script tag for the /node_modules/... versions shown in the npm tab above.
You can also experiment with this scene right here — it's live on CodePen:
Editor Support
The package ships a Custom Elements Manifest, which editors use to offer tag and attribute completions, valid attribute values and hover documentation when authoring HTML.
VS Code — add the following to your workspace .vscode/settings.json:
{
  "html.customData": [
    "./node_modules/@playcanvas/web-components/dist/vscode.html-custom-data.json"
  ]
}
JetBrains IDEs (WebStorm, IntelliJ IDEA) — no setup required. The IDE discovers the bundled web-types.json automatically.
Other tooling — the manifest itself is at @playcanvas/web-components/dist/custom-elements.json and is declared in the package's customElements field, which is how tools such as lit-analyzer and Storybook locate it.
Next Steps
- Continue to Building a Scene to build up a scene element by element — and go further, with materials, shadows and a ground plane.
- Skim the Tag Reference to see every element you can declare.
- Browse the Examples to see what the components can do.